Hiary includes a very flexible booking engine that can be used to enable staff and customers to book skip bins at the right price without relying on you to decide on a price for each service.
This booking engine can apply pricing based on waste type, bin size, bin type, customer classification, geographical area (suburb), day of service, length of hire and more.
In this guide we will explore some of the most common pricing arrangements.
Flat Pricing
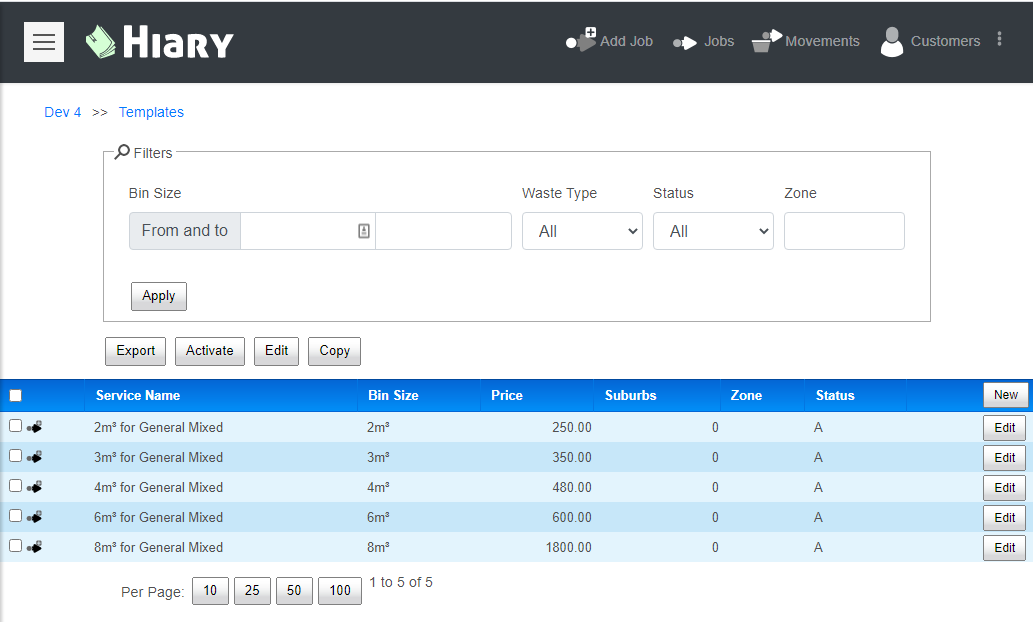
To setup flat pricing all that is needed is one Template record per bin type linked to the waste type you wish to charge a unique price for. When you signup for a Hiary account this basic setup is populated for you.
This basic structure forms the basis for all our other pricing mechanics
Pricing by Customer Classification
When you have customers where you charge differently it can be difficult to remember all the various configurations. To setup pricing by customer classification you will first need to create the desired Classifications by using the Right Menu -> Setup -> Classifications -> New. Enter the name of the classification that you would like and save the record.
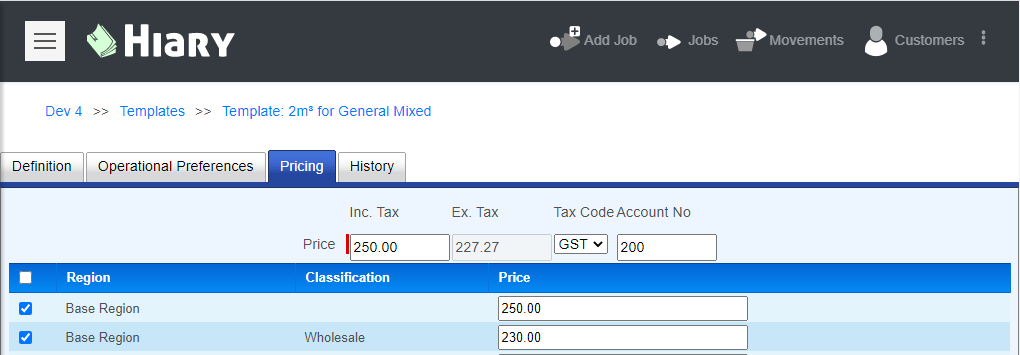
Now when you edit a Template and click on the pricing tab you will find that you can enter prices for each of the classifications. You must also select the checkbox to indicate that the pricing engine should specialise the price for this Template.
Pricing by Geographical Area
The further you have to travel to service a customer the more the job costs you to carry out. For this reason companies will often charge extra when they have to travel further for the work.
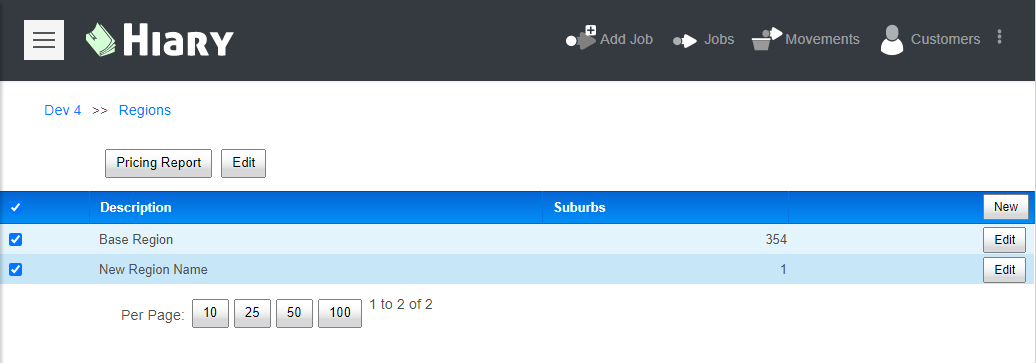
In order to set this type of pricing up you must first create your Regions by using the Right Menu -> Setup -> Regions -> Select All -> Edit
You will then be presented with the region editor that allows you to select suburbs and assign them to one region. Suburbs can be selected in a variety of ways including, click, ctrl + click (multi select), radial tool, polygon tool, and suburb tree tool. Tools are available from the large button in the top right of the map.
Once selected suburbs marker center turns blue. You can then include or exclude the selected suburbs from regions by using the buttons on the right of the map.
Once you have finished your modifications to the regions you must click the save button to save the suburbs and regions.
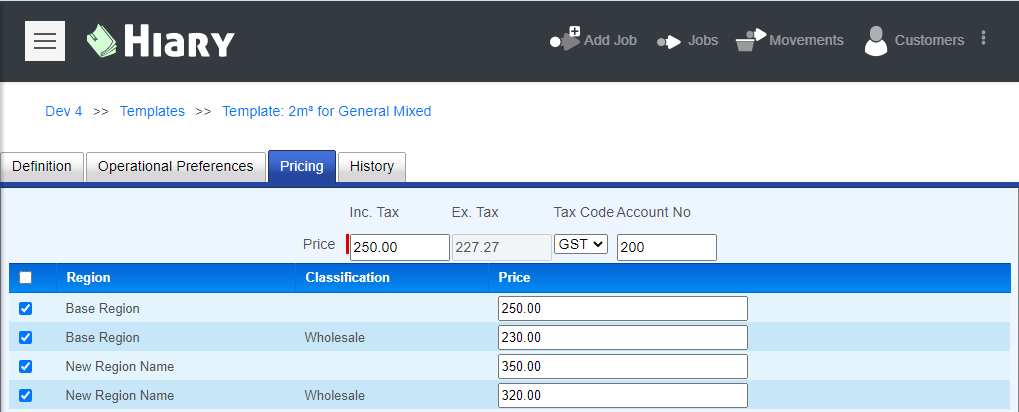
Now that you have setup your regions you will be able to apply prices in a similar way to classifications. When you edit a Template and click on the pricing tab you will find that you can enter prices for each of the regions.
Note: You must check the check box next to each of the regions / classifications you want to customise the pricing for otherwise it will not be applied.


